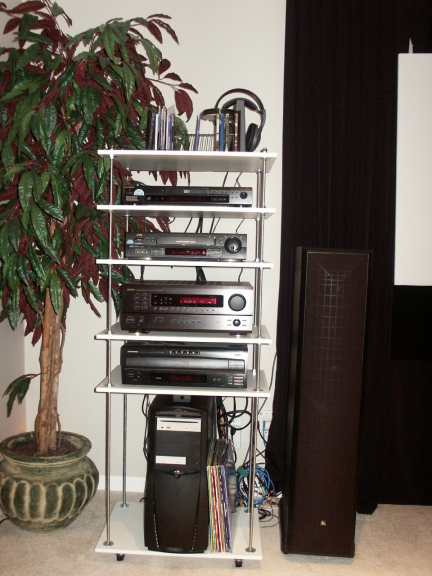
This is the completed equipment rack. The design is a version of the popular "flexy" design, composed of shelves held in place by threaded rod and nuts.
Click on photos for a larger view.
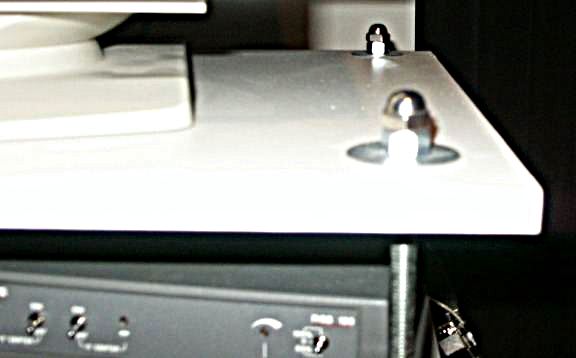
Side view showing how the shelves are assembled. Threading all the nuts on took some time. Don't forget the washers before you get the next nut started! See below for a complete equipment list.
Each shelf is "sandwiched" between two nuts and two 1-1/2" fender washers.
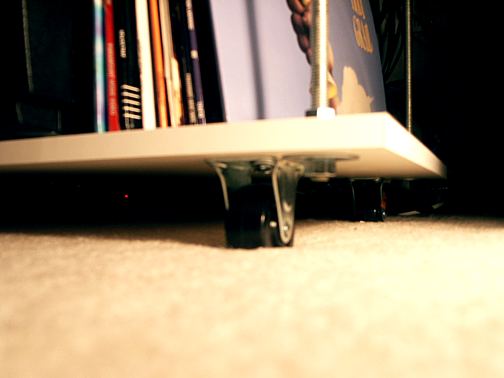
The bottom has wheels to allow the rack to pull out for rear access.
The 3/8" rod is really not rigid enough for a rack this tall, if I built it again I would use 1/2" or 5/8" dia. rod, and recommend anyone else to use the thicker rod also. It would be much more rigid. I think when they called these flexy racks they were referring to the flexibility of moving shelves, not the entire unit wiggling.
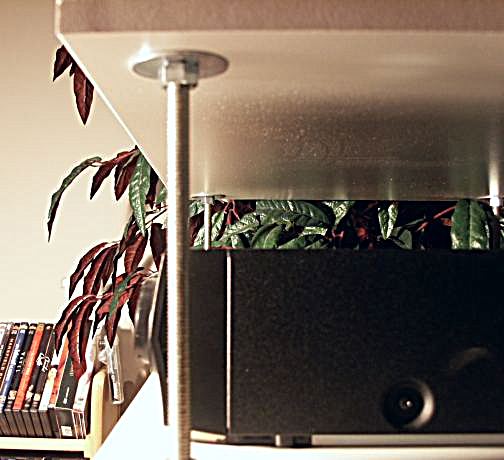
The top of the rods are hacksawed off and capped with 3/8" acorn nuts.
Overall I'm pleased with the rack. It holds all the equipment, looks pretty decent and didn't cost much to build:
Qty 6 Pre -cut 18" x 24" White Laminate Shelves - $39
1 Roll White Laminate Edge Banding - $6
4 - 6' long, 3/8" Dia. Threaded Rod - $28
4 - 2" Wheels - $12
50 - 1-1/2" x 3/8" Fender Washers - $8
50 - 3/8" Nuts - $5
4 - 3/8" Acorn Nuts - $2
Total for a custom 6 shelf rack - $100 (USD)
I built this rack because I couldn't find anything that fit the room decor without buying a very expensive custom unit. This unit matches well and has a modern high tech look to it.
The shelves are standard 24"x 18" laminate covered particle board, sold for installation in closet organizers. Since they were made as shelves, I had to add laminate edge banding to the sides to so that the shelves would have finished edges all the way around. I used Band-It(TM) brand iron on edge banding to do this job. I then stacked all the shelves, clamped them, and drilled the holes through all the shelves at once to ensure that they lined up correctly.